Install Sonarqube On Kubernetes EKS cluster
ကျွန်တော်ဒီနေ့မှာတော့ Sonarqube ကို EKS cluster ပေါ်မှာ install လုပ်တဲ့အကြောင်းကို ရှင်းပြပေးမှာပါ။ Sonarqube ဆိုတာက ကျွန်တော်တို့ ရဲ့ application code တွေထဲက bug တွေ vulnerabilities တွေကို automatic detect လုပ်ဖို့အတွက် သုံးတာပါ။ Open Source project ဖြစ်ပြီး programming language တော်တော်များများနဲ့ integrate လုပ်ပြီးအသုံးပြုနိုင်ပါတယ်။
Create EKS Cluster using eksctl
အရင်ဆုံး eksctl နဲ့ cluster တစ်ခုကို အောက်ကအတိုင်း create လိုက်ပါမယ်။ eksctl ဆိုတာ eks cluster တွေကို manage လုပ်ဖို့သုံးတာပါ။ ကိုယ့်စက်ထဲမှာ install မလုပ်ရသေးရင်တော့ ဒီက နေဖတ်ပြီးလုပ်နိုင်ပါတယ်။
~ % eksctl create cluster --name=eksdemo \
                      --region=us-east-1 \
                      --zones=us-east-1a,us-east-1b \
                      --without-nodegroup
Create & Associate IAM OIDC Provider for our EKS Cluster
cluster ပြီးသွားရင်တော့ OIDC provider ကို create ပေးရပါမယ်။ EKS ပေါ်မှာသုံးမယ့် service account တွေကို IAM role တွေနဲ့ enable လုပ်နိုင်ဖို့အတွက် OIDC provider တစ်ခုကို အောက်ပါအတိုင်း create လုပ်ပေးလိုက်ပါ။
~ % eksctl utils associate-iam-oidc-provider \
    --region us-east-1 \
    --cluster eksdemo \
    --approve
Create Node Group with additional Add-Ons in Public Subnets
ပြီးရင်တော့ eks cluster မှာသုံးဖို့ node group တစ်ခု create လိုက်ပါမယ်။
eksctl create nodegroup --cluster=eksdemo \
                       --region=us-east-1 \
                       --name=eksdemo1-ng-public1 \
                       --node-type=t3.medium \
                       --nodes=3 \
                       --nodes-min=3 \
                       --nodes-max=4 \
                       --node-volume-size=20 \
                       --managed \
                       --asg-access \
                       --external-dns-access \
                       --full-ecr-access \
                       --appmesh-access \
                       --alb-ingress-access
kubeconfig file ကို ~/.kue/config ထဲကို ထည့်ပါလိုက်မယ်။
~ % aws eks update-kubeconfig --name eksdemo
ပြီးသွားရင်တော့ kubectl get nodes နဲ့ကြည့်လိုက်ရင် worker ၃လုံး ready ဖြစ်နေတာကိုတွေ့ရပါလိမ့်မယ်။
~ % kubectl get nodes
NAME                             STATUS   ROLES    AGE    VERSION
ip-192-168-28-242.ec2.internal   Ready    <none>   107m   v1.21.12-eks-5308cf7
ip-192-168-52-205.ec2.internal   Ready    <none>   107m   v1.21.12-eks-5308cf7
ip-192-168-7-38.ec2.internal     Ready    <none>   107m   v1.21.12-eks-5308cf7
Apply Node Taint
sonarqube ကို deploy မလုပ်ခင်မှာ အရင်ဆုံး Node တစ်ခုကို taint လုပ်ပေးဖို့လိုပါတယ်။ ဘာလို့လဲဆိုရင် service ကို stable ဖြစ်ဖို့အတွက်ပါ။ အဲ့ taint လုပ်မယ့် node ပေါ်မှာ sonarqube တစ်ခုကိုပဲထားပြီး ကျန်တဲ့ service တွေကို schedule လုပ်ခွင့်မပေးတော့ပါဘူး။
kubectl taint node ip-192-168-7-38.ec2.internal sonarqube=true:NoSchedule
kubectl label node ip-192-168-7-38.ec2.internal sonarqube=true
Update Helm Values
sonarqube helm chart ကို clone လိုက်ပါ။ ပြီးရင် values.yaml မှာအောက်ပါ value တွေကို update ပေးရပါမယ်။
git clone https://github.com/SonarSource/helm-chart-sonarqube.git
cd helm-chart-sonarqube
toleration ထည့်ပေးရမယ်။ ပြီးရင် service ကို LoadBalancer ပြောင်းပေးရပါမယ်။
tolerations:
  - key: "sonarqube"
    operator: "Exists"
    effect: "NoSchedule

service:
  type: LoadBalancer
  externalPort: 9000
  internalPort: 9000
  labels:
  annotations: {}

nodeSelector:
  sonarqube: "true"
Deploy Sonarqube Helm Chart
ဒါဆို sonarqube helm chart ကို deploy လို့ရပါပြီ။ sonarqube namespace တစ်ခု create လိုက်ပါမယ်။
helm repo add sonarqube https://SonarSource.github.io/helm-chart-sonarqube
helm repo update
kubectl create namespace sonarqube
helm upgrade -f values.yaml --install -n sonarqube sonarqube sonarqube/sonarqube
ဒါဆိုရင် pods တွေကို list ကြည့်လို့ရပါပြီ။ sonarqube ဟာ သူ့ရဲ့ analysis လုပ်ခဲ့တဲ့ information တွေကို store လုပ်ဖို့အတွက် database ကိုသုံးရပါတယ်။ ဒီမှာတော့ postgres ကိုပဲသုံးလိုက်ပါတယ်။
% kubectl get pods -n sonarqube
NAME                     READY   STATUS    RESTARTS   AGE
sonarqube-postgresql-0   1/1     Running   0          18m
sonarqube-sonarqube-0    1/1     Running   0          18m
Access Sonarqube Dashboard
sonarqube dashboard ကို access လုပ်ဖို့အတွက် kubectl get svc နဲ့ ကြည့်လို့ရပါတယ်။
% kubectl get svc -n sonarqube
NAME                            TYPE           CLUSTER-IP      EXTERNAL-IP                                                              PORT(S)
sonarqube-postgresql            ClusterIP      10.100.36.211   <none>                                                                   5432/TCP
sonarqube-postgresql-headless   ClusterIP      None            <none>                                                                   5432/TCP
sonarqube-sonarqube             LoadBalancer   10.100.66.15    ae75224a4660543c2895dbe574db5877-225847540.us-east-1.elb.amazonaws.com   80:30506/TCP
load balancer ရဲ့ address ကို browser ကနေခေါ်လိုက်ရင် login page ထဲကိုရောက်သွားပါလိမ့်မယ်။ username နဲ့ password က admin ဖြစ်ပါတယ်။ value တွေက helm chart ထဲမှာပြင်နိုင်ပါတယ်။

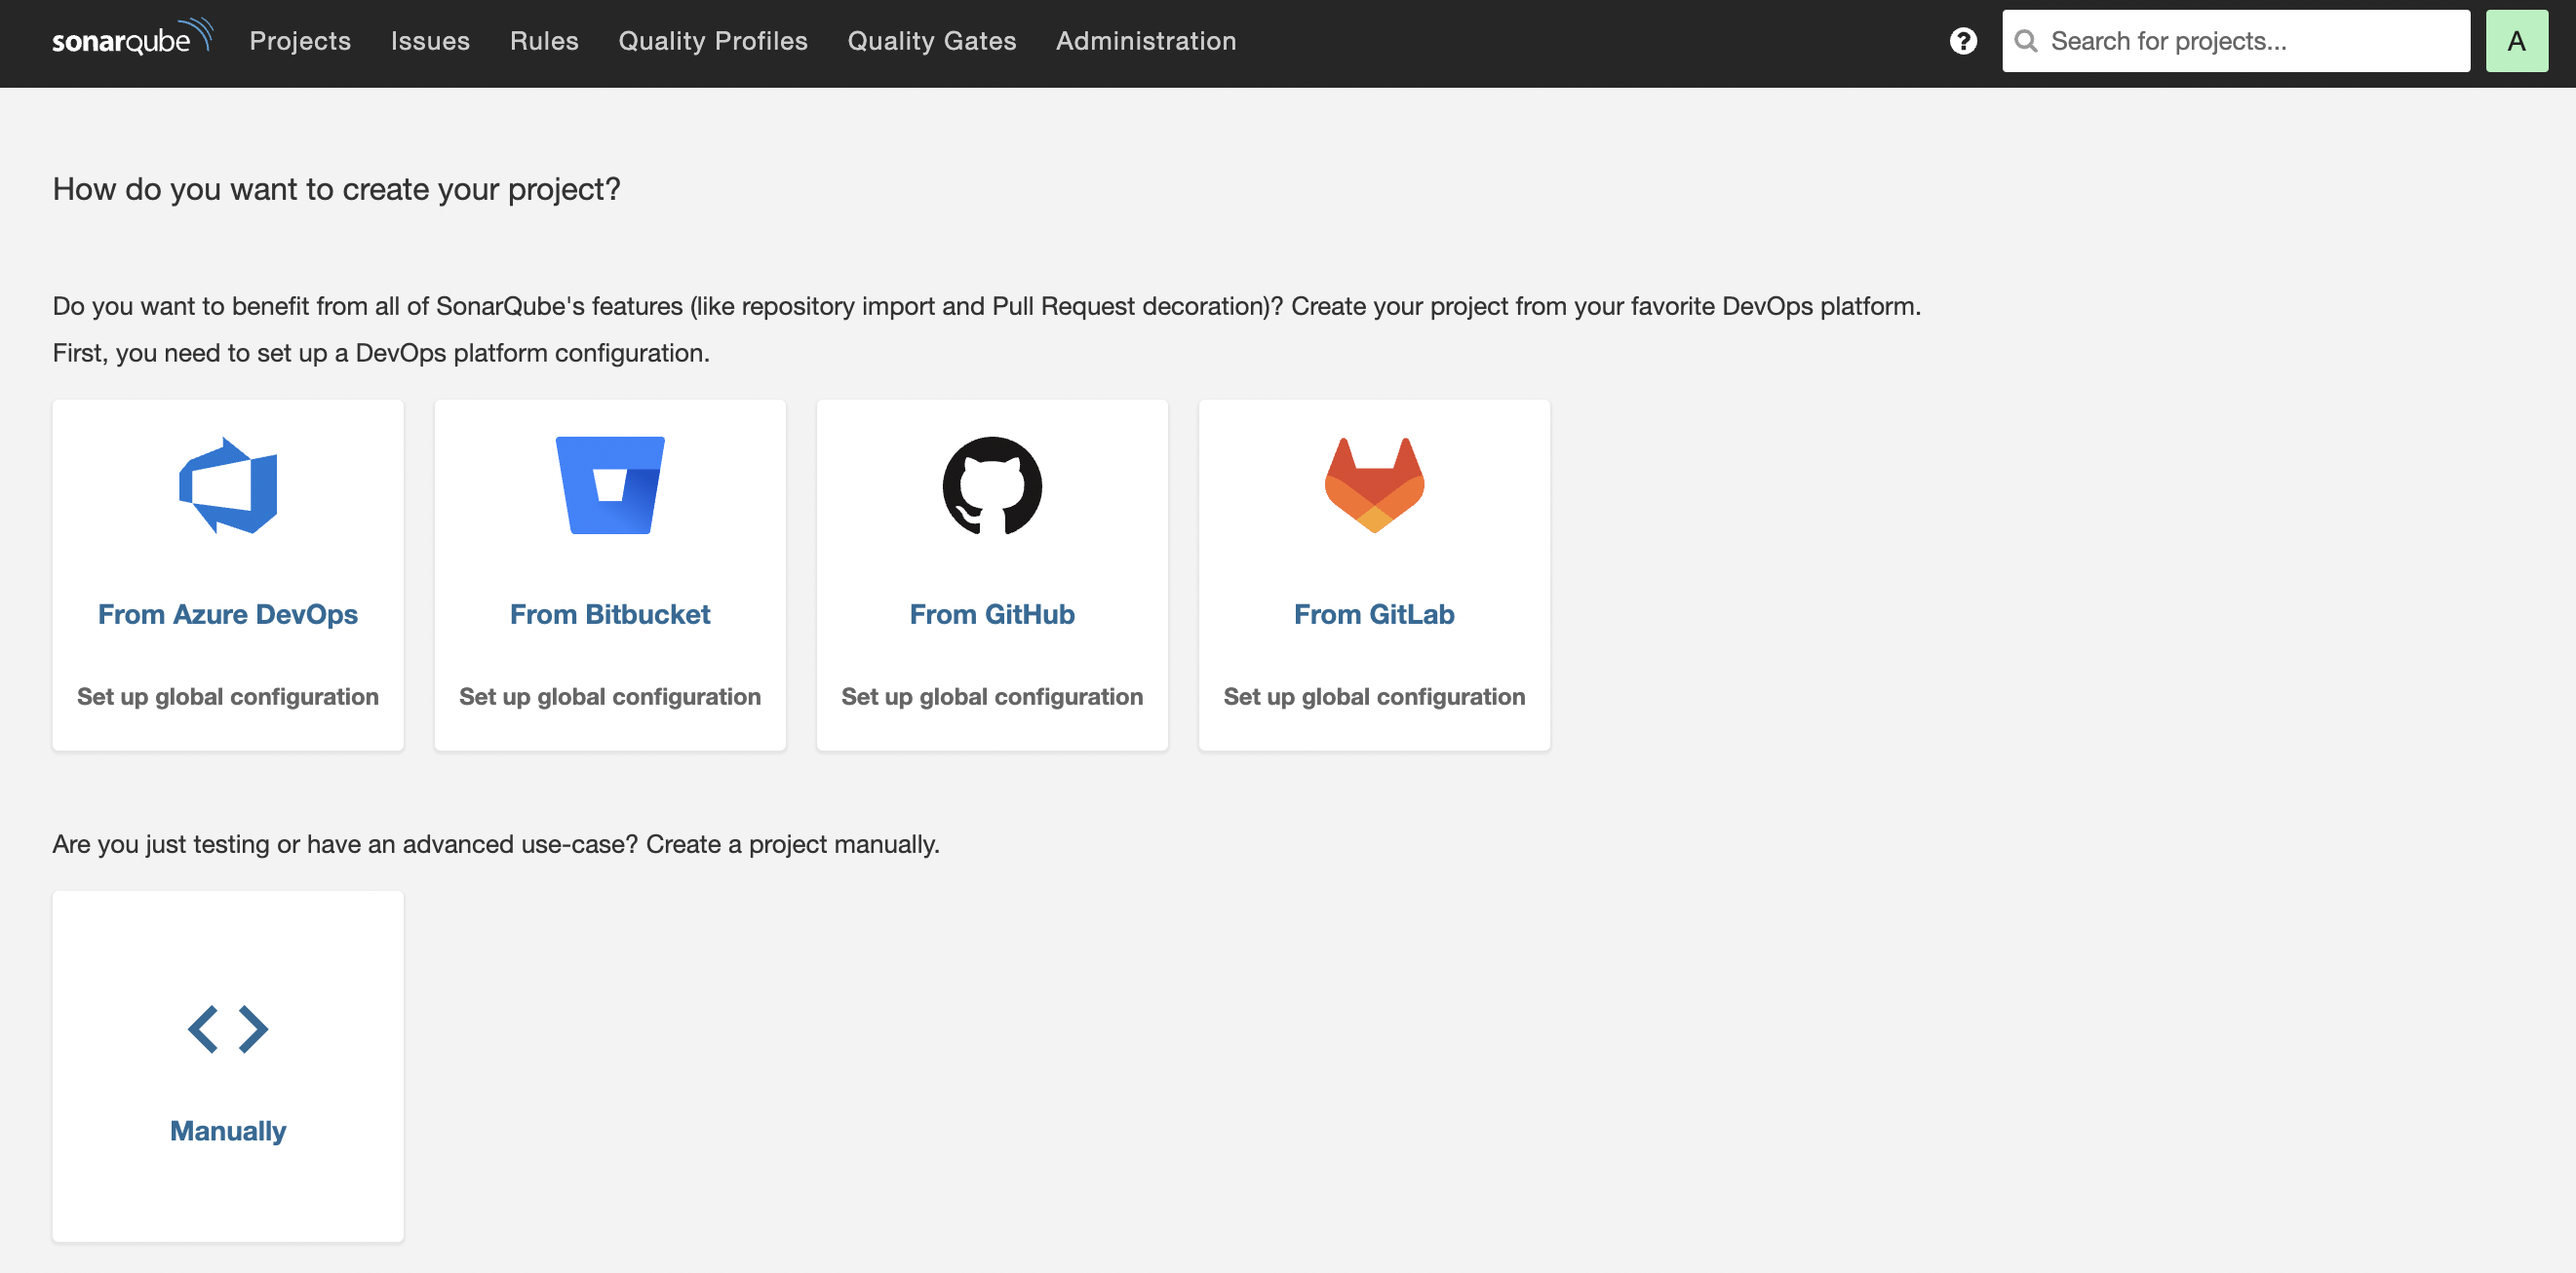
login ဝင်ပြီးသွားရင်တော့ dashboard ထဲကိုရောက်သွားမှာဖြစ်ပြီး code တွေကို စပြီး review လုပ်နိုင်ပါပြီခင်ဗျာ။

အဆုံးထိဖတ်ရှူပေးကြသူများအားလုံးကျေးဇူးတင်ပါတယ်။ နောက်လည်း ဒီလို sharing လေးတွေရေးသွားပါဦးမယ်။
👉 Reference
သင်ဆရာ မြင်ဆရာ ကြားဆရာများကိုလေးစားလျှက် 🙏🙏🙏
သောင်းထိုက်ဦး (UIT)